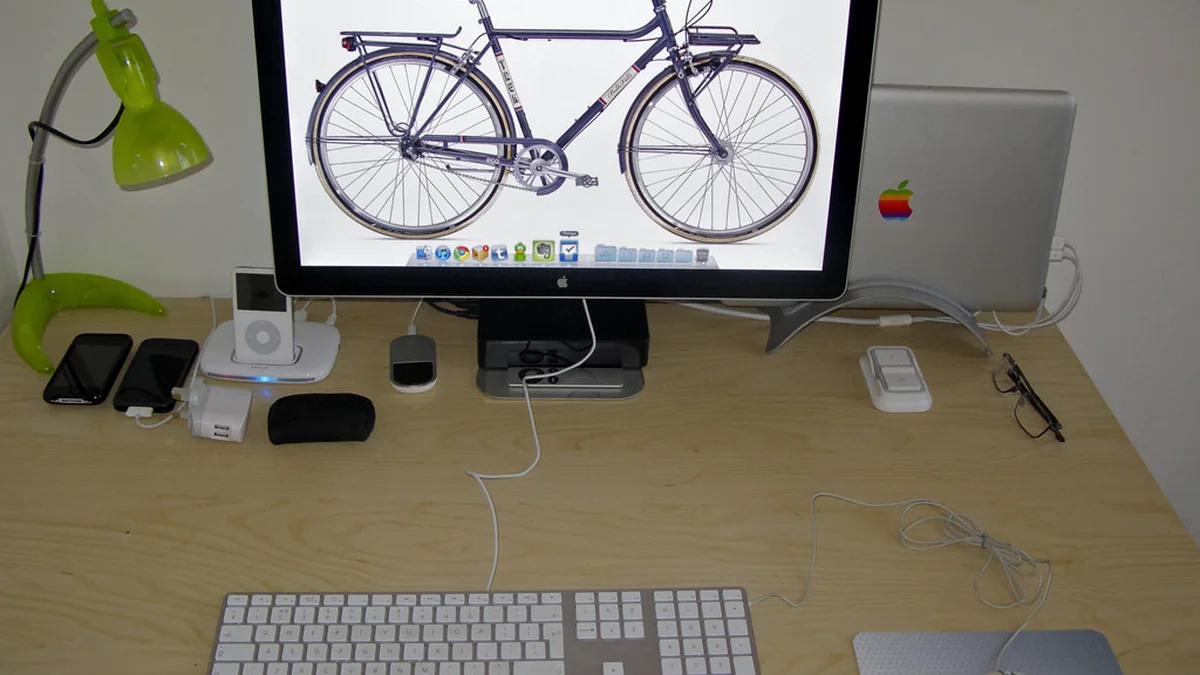
The goal
A one-cable desk means one connection to the laptop handles as much as possible:
- charging;
- external display;
- keyboard and mouse;
- Ethernet;
- storage;
- camera or audio devices.
The clean setup looks simple, but it only works when the laptop port, dock, cable and peripherals all agree on the required capabilities.
Step 1: identify the exact laptop port
Do not start by shopping for a dock.
Find the exact laptop model and check the manufacturer’s port specification.
You need to know whether the chosen USB-C-shaped port supports:
- USB data speed;
- DisplayPort video output;
- USB Power Delivery input;
- USB4 or Thunderbolt, if applicable.
A USB-C connector can support all, some or none of these features.
If the port does not support display output, an ordinary USB-C dock cannot create native video output by itself.
Step 2: calculate the laptop charging requirement
Check the wattage of the laptop’s original or recommended charger.
Then compare it with the host power output of the dock.
A dock may advertise 100W input while delivering less to the laptop because the dock and attached devices use some of the incoming power.
For example, a dock that accepts 100W and provides 85W to the host can be a good fit for a 65W laptop and a poor fit for a computer that expects 100W under load.
The one-cable dream fails quickly if the laptop slowly loses battery all day.
Step 3: define the display requirement
Write down:
- number of external monitors;
- resolution of each;
- refresh rate;
- whether the laptop screen remains active;
- whether HDR or high-refresh gaming matters.
Then verify the laptop’s supported external-display configuration.
A dock with two HDMI ports does not mean every laptop can drive two independent displays.
Operating-system and GPU limitations still apply.
For one 4K60 office monitor, many modern USB-C/USB4 setups are straightforward. Multiple high-resolution displays require more careful verification.
Step 4: choose hub versus powered dock
A compact hub is suitable when the setup is simple and portability matters.
A powered dock is usually better when the desk includes:
- multiple displays;
- Ethernet;
- several USB peripherals;
- high laptop charging power;
- a permanent cable layout.
A one-cable desk is a permanent-workstation goal, so a real powered dock often makes more sense than a travel hub.
Step 5: map every peripheral to a port
Create a small table before buying:
| Device | Connection | Required speed/power |
|---|---|---|
| Monitor | HDMI / DP / USB-C | resolution + refresh |
| SSD | USB-C / USB-A | 10Gbps or higher if needed |
| Keyboard | USB / wireless | low bandwidth |
| Mouse | USB / wireless | low bandwidth |
| Ethernet | RJ45 | 1GbE / 2.5GbE |
| SD card | SD/microSD | UHS-I / UHS-II |
| Laptop | USB-C host | charging + data + display |
This exposes problems early.
A dock can have many ports and still fail if the one high-speed USB-C port is occupied by something else.
Step 6: account for shared bandwidth
USB4 can carry multiple data and display protocols over one high-speed link.
That link is still shared.
A high-speed SSD, Ethernet and multiple displays can all consume available bandwidth.
For ordinary office peripherals, the effect is often small. For video editing from an external SSD while driving multiple displays, bandwidth planning matters.
Do not add up every downstream port’s advertised maximum and assume they all run at that speed simultaneously.
Step 7: use the right host cable
If the dock uses a removable host cable, the replacement cable must support the required data, video and power features.
A charge-only USB-C cable can turn an expensive dock into a confusing failure.
Keep the original certified cable with the dock when possible.
Step 8: arrange the desk after the signal path works
A one-cable desk should also improve physical setup.
OSHA recommends placing the monitor at a comfortable viewing distance and height, with input devices within easy reach.
Once the dock is connected:
- position the monitor;
- place the laptop on a stand if useful;
- position external keyboard and mouse;
- route the single host cable where it does not pull on the laptop;
- secure the dock so plugging peripherals does not drag it around.
Cable cleanliness is useful only when the workstation remains comfortable.
Step 9: test failure cases
Before calling the setup finished, test:
- wake from sleep;
- disconnect/reconnect;
- laptop restart;
- monitor power cycle;
- Ethernet reconnect;
- SSD transfer;
- webcam during a video call;
- laptop charging under real workload.
One-cable setups often expose interoperability problems during sleep/wake rather than initial connection.
Common mistakes
Buying the dock before reading the laptop specification
The host always sets hard limits.
Treating “100W PD” as guaranteed laptop output
Read the host-delivery figure.
Assuming all USB-C cables support display
They do not.
Expecting unlimited bandwidth
The host link is shared.
Hiding the dock where it overheats or becomes hard to service
Cable management should not block ventilation or access.
Bottom line
A reliable one-cable desk is engineered from the laptop outward.
Verify the host port, calculate charging power, define the display workload, map the peripherals and then choose the dock.
When the specifications line up, one cable can genuinely replace a desk full of daily plugging and unplugging.